

Practical advice from experienced plumbers serving Essex and Southend-on-Sea.
Outdoor Tap and Hose Leaks: Causes, Prevention and Repairs
Outdoor taps are a valuable addition to many homes, making it easier to water gardens, wash vehicles, clean patios and carry out outdoor maintenance tasks. However, because outdoor taps are exposed to the elements and often experience periods of heavy use, they can develop leaks and other issues over time.
A leaking outdoor tap or hose connection may seem like a minor inconvenience, but even small leaks can waste significant amounts of water, increase utility bills and potentially cause damage to surrounding areas.
At Kyle R C Perry Heating and Plumbing, we regularly help homeowners identify and repair outdoor tap and hose leaks before they develop into larger plumbing problems.
This guide explains the most common causes of outdoor tap leaks, how to identify warning signs, preventative maintenance tips and when professional assistance may be required.
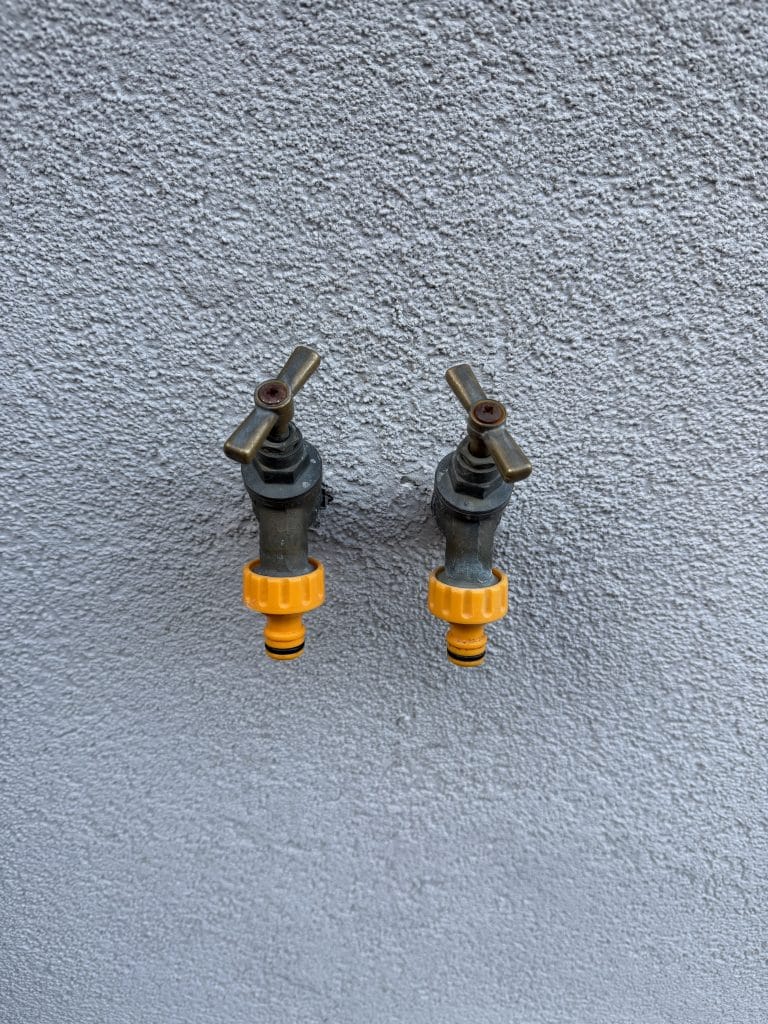
Is It Worth Fixing a Dripping Tap?
Before getting into the how, it is worth answering the why. Some homeowners wonder whether a dripping tap is really worth the effort of fixing, particularly if the drip seems minor.
The answer is yes, and here is why. A tap dripping once per second wastes approximately 15 litres of water per day, which adds up to over 5,000 litres a year. If that water is hot, your boiler is also working to heat water that is disappearing straight down the drain. The cumulative effect on your water and energy bills is more significant than most people expect.
Beyond the cost, a persistent drip can stain sinks and baths, cause limescale build-up around the outlet, and in some cases lead to water damage around the base of taps if water is running down surfaces rather than directly into the drain. Fixing a dripping tap promptly is almost always the right decision, both financially and practically.
Addressing leaks early is usually simpler and more cost-effective than waiting until the problem becomes worse.
Top tip
If you notice an outdoor tap dripping after it has been fully turned off, investigate the issue as soon as possible. Small leaks often become larger and more expensive over time.
What Causes Outdoor Tap Leaks?
1. Worn Tap Washer
One of the most common causes of dripping outdoor taps is a worn washer.
The washer helps create a watertight seal when the tap is closed.
Over time, regular use causes wear and deterioration, allowing water to pass through and create a drip.
Signs include:
- Constant dripping from the spout
- Difficulty fully shutting off water
- Gradually worsening leaks
2. Damaged Tap Cartridge
Modern taps may contain ceramic cartridges instead of traditional washers.
Can a faulty cartridge cause leaks? Yes. A damaged or worn cartridge can prevent the tap from sealing properly, resulting in continuous dripping.
Professional replacement is often the most effective solution.
3. Loose Connections
Outdoor taps frequently connect to hoses, fittings and accessories.
Loose threaded connections or worn seals can allow water to escape around the connection point when the tap is in use.
Common areas to inspect include:
- Hose connectors
- Quick-release fittings
- Threaded adapters
- Backplate connections
4. Cracked Pipework
Can outdoor pipes crack?
Yes. Exposure to weather conditions, accidental impacts and freezing temperatures can damage pipework.
Cracked pipes may cause:
- Visible water leaks
- Reduced water pressure
- Damp areas around walls
- Increased water usage
5. Frost Damage
How does winter affect outdoor taps?
Water expands when frozen. If water remains inside external pipework during freezing conditions, pipes and fittings can crack.
Frozen water is one of the leading causes of outdoor plumbing damage in the UK.
Expert Advice
Check outdoor taps and hose fittings at the beginning of spring and again before winter. Seasonal inspections can prevent many common problems..
Common Tap Problems and What Causes Them
Before reaching for your tools, it helps to know which problem you are dealing with. Different faults have different causes and different solutions.
| Problem | Common Cause | Recommended Action |
|---|---|---|
| Dripping tap | Worn washer | Replace washer |
| Constant leak | Faulty cartridge | Professional inspection |
| Leak at hose connection | Damaged washer | Replace seal |
| Water near wall | Pipework damage | Plumbing assessment |
| Reduced pressure | Hidden leak | Investigate immediately |
| Seasonal leaks | Frost damage | Repair and insulate |
Understanding Your Tap Type
Before You Start: What You Will Need
Having everything to hand before you begin makes the process significantly smoother and reduces the risk of having to stop halfway through with the water isolated.
What you will need before you start
How to Fix a Faulty Tap: Step by Step
The steps below apply to most modern mixer and pillar taps. Use the table as a quick reference, then follow the detail beneath each stage.
Engineer’s tip
Always take the old cartridge or washer to the hardware store rather than trying to describe or photograph it. Tap fittings vary enormously between manufacturers and even between different ranges from the same brand. Getting the wrong size is the most common reason a DIY tap repair ends up needing a professional to finish the job.
What About Limescale?
If your tap is stiff to turn or dripping and you live in a hard water area, limescale may be the culprit rather than a worn component. Essex sits in a moderately hard water area, which means mineral deposits inside taps are common.
Limescale tip
Try soaking the disassembled tap parts in white vinegar for an hour before replacing anything. This can dissolve limescale build-up inside the cartridge or on the disc seats and restore smooth operation without the cost of a replacement part. Essex sits in a moderately hard water area, which makes limescale a common culprit for stiff or dripping taps.
Common Mistakes to Avoid
A few small errors account for most failed DIY tap repairs. Being aware of these before you start will save you time and frustration.
- Not turning the water off properly. Always confirm the water is fully off by briefly opening the tap before you begin disassembly.
- Overtightening the cartridge or shroud. This is the single most common mistake. Excessive force can crack ceramic discs or damage threads, turning a simple repair into a more expensive replacement.
- Buying the wrong replacement part. Tap cartridges are not universal. Always take the old part with you when sourcing a replacement.
- Forgetting to block the plughole. Small components are easy to drop and surprisingly easy to lose down an open drain.
When to Stop and Call a Plumber
Many tap faults are genuinely DIY friendly, but there are clear situations where calling a professional is the right decision rather than pushing on and risking making the problem worse.
When to stop and call a plumber