A leaking shower is one of those problems that starts small and gets expensive fast. Here is exactly what to do, what to look for, and when to call a professional.
A dripping shower head, water pooling on the bathroom floor, or a damp patch appearing on the ceiling below your bathroom are all signs that something is wrong. Left untreated, a leaking shower can cause serious water damage to your property, encourage mould growth, and lead to structural issues that cost far more to put right than the original leak ever would have.
The good news is that many shower leaks follow a predictable pattern. With the right information, you can identify the source of the problem quickly, take immediate steps to minimise damage, and make an informed decision about whether this is something you can address yourself or whether you need a professional plumber.
Watch Our Engineer Diagnose and Fix a Shower Leak
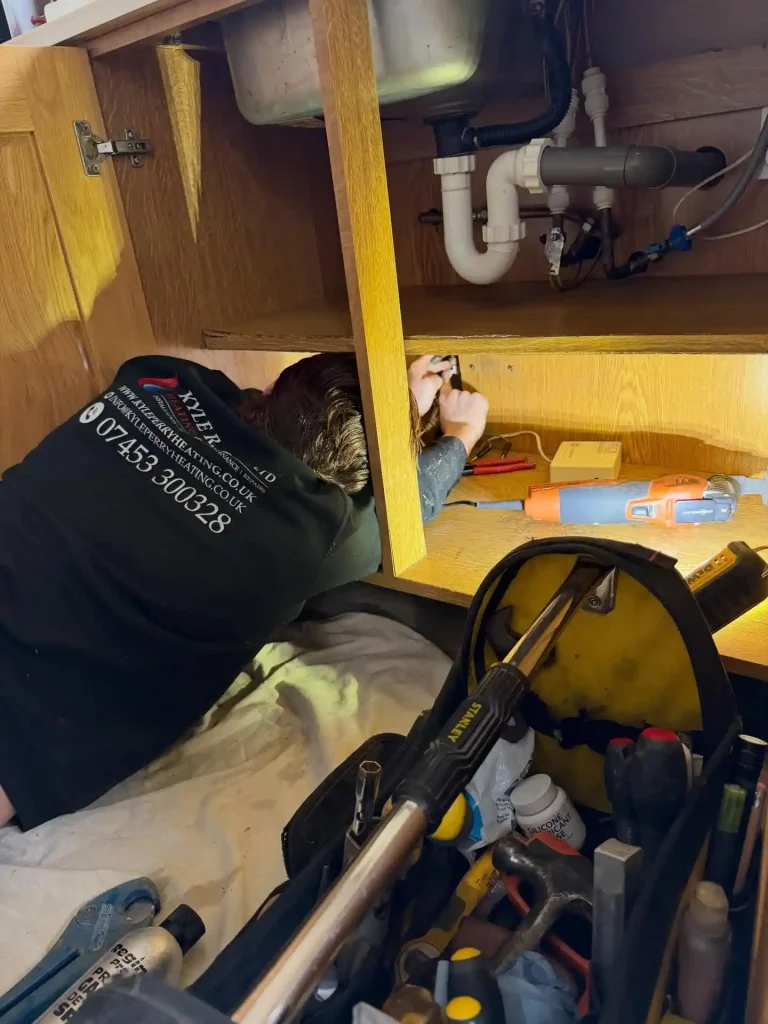
Our Gas Safe registered heating and plumbing engineer, Kyle Perry, based in Southend-on-Sea, walks through a real shower leak callout in this video, showing exactly how the fault was identified and resolved. Watch it alongside this guide for a clearer picture of what the process looks like in practice.
Step One: Do Not Ignore It
The single most common mistake homeowners make with a leaking shower is hoping it will go away on its own or leaving it because the leak seems minor. Showers leak into wall cavities, subfloors and ceiling voids where water travels further than you expect before it becomes visible. By the time you see a damp patch on the ceiling or a stain on the wall, water has often been sitting in that void for some time.
If you have noticed any of the following, treat it as a prompt to investigate immediately:
- Water pooling on the shower floor that does not drain away properly
- Damp patches on the wall or floor around the shower enclosure
- A musty or damp smell in the bathroom even after ventilating
- Peeling paint, bubbling tiles or lifting grout near the shower
- Water stains or damp patches on the ceiling below the bathroom
- A dripping shower head that continues after the shower is turned off
- Reduced water pressure during use
Step Two: Turn Off the Water Supply If the Leak Is Severe
If water is actively pouring from the shower, coming through the ceiling below, or you cannot identify a clear source, turn off the water supply to the shower as a precaution. Most showers have an isolation valve on the supply pipes behind an access panel or under the floor. If you cannot locate it, turn off the main stopcock, which is usually found under the kitchen sink or where the mains supply enters the property.
Do not attempt to use the shower again until the source of the leak has been properly identified and repaired.
Step Three: Identify Where the Leak Is Coming From
Shower leaks come from a surprisingly wide range of sources, and correctly identifying the origin is the most important part of resolving the problem. Here are the most common causes:
| Common Cause | How to Identify It |
| Leaking Shower Tray | The shower tray is one of the most frequent culprits. Over time the silicone seal around the edge of the tray where it meets the wall can crack, shrink or pull away, allowing water to escape behind the tiles or under the tray. Look closely at the silicone bead around the entire perimeter of the tray. Any gaps, discolouration, mould growth or areas where the silicone has lifted away from the surface are a clear sign this seal needs attention. |
| Leaking Shower Enclosure or Door Seal | The rubber seal around the shower door and the bottom sweep seal where the door meets the tray wear out over time and can allow water to escape onto the bathroom floor. Close the door and run the shower, watching carefully for water escaping around the edges or underneath the door. |
| Grout and Tile Failure | Grout between tiles is porous and deteriorates over time, particularly in showers where it is exposed to hot water and steam every day. Cracked, missing or discoloured grout allows water to penetrate behind the tiles and into the wall structure. This type of leak is often slow and invisible until significant damage has already been done. |
| Leaking Shower Head or Mixer Valve | A shower head that continues to drip after the water is turned off, or a mixer valve that weeps water around its body or handle, points to a fault with the internal components. Worn cartridges, failed O-rings and corroded valve bodies are common causes, particularly in showers that are more than five to ten years old. |
| Leaking Waste Pipe or Trap | Water appearing on the ceiling below the bathroom, or on the floor around the base of the shower tray, can indicate a problem with the waste pipe connection or the shower trap rather than the visible parts of the enclosure. This type of leak is harder to diagnose without removing access panels or investigating under the floor. |
| Leaking Supply Pipes | In some cases the leak originates from the hot or cold supply pipes feeding the shower, particularly where connections have worked loose over time or where older copper pipework has developed a pinhole leak. This type of fault usually requires a plumber to investigate properly. |
Step Four: What You Can Fix Yourself
Some shower leaks are straightforward enough for a confident DIYer to address. These include:
Resealing the shower tray If the silicone seal around the tray has failed, removing the old sealant completely and applying a fresh bead of sanitary grade silicone is a job most homeowners can do with care, the right tools and a steady hand. The key is thorough preparation: all old silicone must be removed and the surface must be completely clean and dry before the new sealant is applied. Rushing this stage or applying new silicone over old is one of the most common causes of recurring leaks.
Replacing door seals and sweeps Shower door seals and bottom sweep seals are available as replacement parts for most enclosure brands and are generally straightforward to fit. Check the brand and model of your enclosure and order the correct replacement part.
Regrouting tiles Replacing failed grout is achievable as a DIY task, though it requires patience and attention to detail to get a clean, watertight finish. Remove all loose or cracked grout thoroughly before applying new grout, and finish with a grout sealer once fully cured.
Cleaning a blocked shower head If your shower head is dripping due to limescale buildup, soaking it in white vinegar overnight will often resolve the issue without any need for replacement.
Step Five: When to Call a Professional Plumber
While some shower leaks are DIY-friendly, others require the skills, tools and experience of a qualified plumber. You should call a professional if:
- The leak is coming from behind the tiles or within the wall structure
- Water is coming through the ceiling below the bathroom
- The mixer valve or thermostatic cartridge needs replacing
- You have investigated and cannot identify the source of the leak
- The shower tray needs lifting or repositioning
- There is evidence of mould behind tiles or within the wall cavity
- The waste pipe or trap connection is the suspected source
- The leak involves the hot or cold supply pipework
Attempting to investigate or repair these types of faults without the right experience risks making the problem worse, causing additional water damage, or invalidating your home insurance if a claim becomes necessary.
The Cost of Leaving a Shower Leak Unresolved
It is worth understanding what is at stake if a shower leak is left unaddressed. Water that penetrates wall cavities and subfloors causes timber to rot, promotes mould growth that is harmful to health, and can eventually compromise the structural integrity of floors and ceilings. Insurance claims for water damage run into thousands of pounds on average, and many policies require the homeowner to demonstrate that reasonable steps were taken to address the problem promptly.
A professional repair carried out early is almost always significantly cheaper than the remedial work required after a leak has been allowed to cause serious damage.
Is your shower ageing or repeatedly developing faults? It may be worth considering a replacement. Take a look at our shower installation service to find out more.
Our Shower ServicePeventing Shower Leaks in the Future
Once your shower has been repaired, a few simple maintenance habits will significantly reduce the likelihood of the problem recurring:
- Inspect the silicone seal around the shower tray every six to twelve months and reseal if any gaps or deterioration are visible
- Clean grout regularly with a suitable bathroom cleaner and reseal grout lines annually with a penetrating grout sealer
- Replace shower door seals as soon as they show signs of wear or cracking
- Ensure your bathroom is properly ventilated during and after showering to reduce moisture levels
- Address any drips or reduced water pressure promptly rather than leaving them to develop into a larger fault
Need a Plumber for a Leaking Shower in Essex?
At Kyle R. C. Perry Heating and Plumbing Ltd, we carry out shower leak diagnosis and repair across Southend-on-Sea, Leigh-on-Sea, Shoeburyness, Westcliff-on-Sea and the wider Essex area. Our experienced plumbers identify the source of the leak accurately and carry out lasting repairs that protect your property.
With over 10 years of experience and more than 190 five-star Google reviews from local homeowners, we are the trusted choice for plumbing repairs across Essex.
Real Reviews From Local Customers
Don’t just take our word for it. Read what our customers say below, or view all our Google reviews here
“Kyle came out immediately to help at my mum’s after we discovered a water leak. He is extremely professional, explaining the problem, repairing it immediately and his work was extremely clean and tidy. Highly recommended” – Katerina
“We had a leak and needed urgent repair. Kyle replies straight away to my email and was more than happy to come and help us after hours. He was here very quickly and did an amazing job. Will definitely be calling on him again when needed. Very friendly and reliable. Highly recommend.” – Ben Cooker
“Fantastic job and excellent service. I had a persistent leak with my shower and it was unusable. Kyle booked me in asap and did an amazing job fixing the issue. He was on time and quickly diagnosed the problem and he was very knowledgeable. He was on time and explained everything clearly. Highly recommend this company for any plumbing or heating issues you may have.” – Helen Little